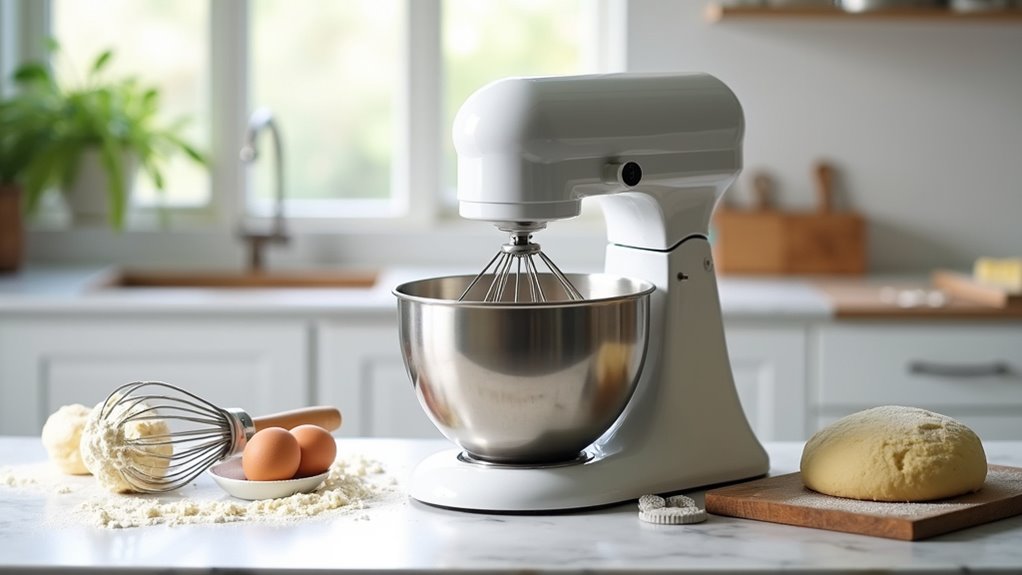
A stand mixer handles many kitchen tasks with speed and consistency. It creams butter and sugar for cakes efficiently. It mixes cookie dough and whips cream or egg whites to soft peaks. It kneads bread and pizza dough using a dough hook for reliable gluten development. With the right bowl and speed, the mixer also processes mashed potatoes, fillings, and some cooked meats safely and smoothly.
What Stand Mixers Do Best
Most stand mixers shine whenever you need steady power and a light touch on your arms. You can cream butter and sugar fast, which helps cake batter come together in about 2 to 2.5 minutes.
Then you can use the wire whisk to whip cream or egg whites into fluffy peaks, especially once you chill the bowl initially. For thicker jobs, the flat beater handles cookie dough and heavy batter with ease, so you can count on smooth mixing from batch to batch.
Should you want more control, speed control lets you match the task. And with noise reduction, you can feel at home while you bake.
A dough hook then takes on yeast dough, while the mixer also blends mashed potatoes, frostings, and dips smoothly.
Best Stand Mixer Uses Beyond Baking
Beyond cakes and cookies, your stand mixer can quietly become the helper you didn’t know you needed in the rest of your kitchen.
With the flat beater, you can shred two cups of cooked chicken in under a minute, then fold it into salads or sandwiches with ease. You can also mix up to 2 pounds of ground meat for burgers or meatloaf, so seasoning stays even and your hands stay clean.
Whenever holiday cooking hits, the paddle helps you make a big bowl of mashed potatoes that turns out silky, not lumpy.
Should you add attachment options like a grater, pasta roller, or spiralizer, you can move from slaw to fresh noodles fast. That kind of power makes countertop storage feel worth it, because one machine can do so much.
Mix Cake Batter Without Overmixing
Once you’re ready to move from savory prep back to cake baking, your stand mixer can help you make a smooth batter without turning it tough. Use the flat beater, start on the lowest setting, and lean on speed control as you blend. Cream butter and sugar on medium-high for about 2 to 3 minutes, then add eggs one at a time on low. Next, mix in dry ingredients on the lowest speed until you no longer see streaks. Should the bowl need it, scrape it once or twice with a silicone spatula. Whenever the recipe asks for gentle folding, finish by hand so you keep the batter light. That small pause keeps your cake tender and helps you feel confident in the kitchen alongside your crew.
| Step | Speed | Tip |
|---|---|---|
| Cream butter and sugar | Medium-high | Build a fluffy base |
| Add eggs | Low | Add one at a time |
| Mix dry ingredients | Lowest | Stop whenever combined |
Make Cookie Dough the Right Way
Cookie dough comes together best as you let the mixer do the heavy lifting, but only at the right pace. Use your 4.5 to 5 quart bowl for a normal batch, so the dough has space and your kitchen feels calm, not crowded.
Start low to blend dry ingredients, then raise the speed for creaming butter and sugar; most 5 quart mixers finish that in about 2 to 2.5 minutes. Keep the flat beater on, and pause to scrape with a silicone spatula instead of doing it while the mixer runs.
For chips or nuts, add them at the end on low or with your hand. That gentle finish protects dough hydration, gives you better chill time later, and keeps your mixer within its limits.
Knead Bread and Pizza Dough
To knead bread and pizza dough well, let your stand mixer take over the hard work with the right hook and the right power. Use a dough hook and at least 325 watts, or 500 watts for dense doughs, so you can build strength without stressing the motor. Start low, then move to medium as the dough comes together.
In a 5-quart bowl, you can make family-size batches; for bigger weekends, a 6- to 7-quart bowl gives you more room. Watch for hydration control, because wetter doughs need less time, while firm doughs might need more. Stop once the dough clears the bowl and feels smooth and elastic.
Should you keep starter feeding in mind, you’ll handle sourdough with confidence, too. Remove it promptly and clean the hook right away.
Whip Cream and Egg Whites
Whenever you whip cream, start with a chilled bowl and whisk, then begin on low speed before moving up so you keep the mixture smooth and steady.
For egg whites, let them warm to room temperature initially, then whip until you see soft peaks, add sugar slowly should you be making meringue, and keep going until they turn glossy and firm.
Watch the whisk closely, because pausing at the right peak keeps both cream and whites light, stable, and ready for your recipe.
Whipping Cream Basics
Whipping cream and egg whites can feel tricky at the outset, but your mixer does most of the hard work for you. For cream, cold stabilization helps you win sooner, and the fat content matters because heavy cream with 30% to 36% fat whips faster and holds more volume. Chill the bowl and whisk for 10 to 15 minutes, then start low and move to medium-high.
- One cup often reaches soft peaks in 2 to 3 minutes.
- Stiff peaks usually show in 3 to 5 minutes.
- Stop often so you don’t overwhip.
- Fold it in gently with a spatula.
Should you’re beating egg whites too, keep every tool clean and fat-free, then add them with care and chill briefly were they loosen.
Egg White Peaks
Egg whites can feel a little fussy at the outset, but they’re much easier once you know what to watch for. You and your mixer can make a strong meringue provided you start with a grease-free bowl and whisk, then use room-temperature eggs.
For a 3 to 4 white batch, whip on medium-high until you see soft peaks, then add sugar slowly should you want more meringue stability. This helps the protein structure hold air and turn glossy.
Keep an eye on the texture: soft peaks slump, medium peaks curl, and stiff peaks stand tall. Stop right there, because overwhipped whites turn grainy fast.
With a little care, you’ll get fluffy, proud peaks that feel like they’re cheering you on.
Mixer Speed Tips
A strong meringue or a cloud of whipped cream starts with the right mixer rhythm, and the speed you choose can make the whole task feel calm instead of chaotic.
You don’t need to rush. Chill the bowl and whisk initially, then follow these speed charts with steady tempo control.
- Start on low speed to blend the cream or whites.
- Move up to medium-high as foam builds.
- Add salt or cream of tartar at soft peaks.
- Use top speed only at the end.
If you’re whipping a small batch, a smaller bowl and whisk help the mixer catch every bit.
That way, you’ll get fuller volume, less splatter, and a smoother finish that feels like you’ve got this.
Cream Butter and Sugar Faster
Creaming butter and sugar goes much faster provided you let your stand mixer do the heavy lifting. Use the flat beater, start with room-temperature butter cut into cubes, and mix on medium-high for about 2 to 3 minutes. These temperature tricks help the butter blend smoothly and keep sugar puffing low.
Watch the sugar textures change as the mixture turns pale, airy, and fluffy. Should you be baking with a bigger batch, a 5-quart bowl gives you room to work without a mess. Scrape the bowl once or twice so every bit gets beaten evenly.
Then, should your cake or frosting need more lift, raise the speed for the last 10 to 20 seconds. Don’t overbeat; you want soft peaks, not a tired, droopy mix.
Make Mashed Potatoes and Holiday Sides
Whipping up mashed potatoes in your stand mixer can feel like a small kitchen win, especially as the holiday table keeps growing. You may make holiday mash ups that feed a crowd and still keep your hands free for gravy and greens. A 5 quart bowl handles about 7 pounds, so you can lean on it for heirloom potatoes and other cozy sides.
- Use the flat beater for a smooth, creamy mash.
- Start on low, then raise speed slowly to stop splatter.
- Fold in warmed butter and cream manually.
- Chill the bowl and beater unless you want a lighter finish.
That way, you keep the texture soft, the work lighter, and the mood calm for everyone gathered.
Use a Stand Mixer for Meat and Shredding
Whenever dinner needs to stretch, your stand mixer can save you a lot of time and elbow grease. You can use the flat beater to shred 1 to 2 pounds of cooked chicken or pork in 20 to 30 seconds on low to medium speed.
For meatloaf or burger mixes, the paddle attachment can break up cooled ground beef with seasonings in about 30 to 60 seconds. This fits nicely with meat texture science, because gentle mixing keeps the meat even without turning it mushy.
For bigger meals, work in small 1 to 2 pound batches so you don’t strain a typical 5 quart motor. Cool the meat initially, trim bones and big fat pieces, and clean attachments right away. Even cold smoking techniques won’t replace this easy shortcut.
Choose the Right Bowl and Beater Type
You’ll get better results whenever you match the bowl size to the job, because a 4.5 to 5 quart stainless steel bowl handles most cookie and cake batters with ease.
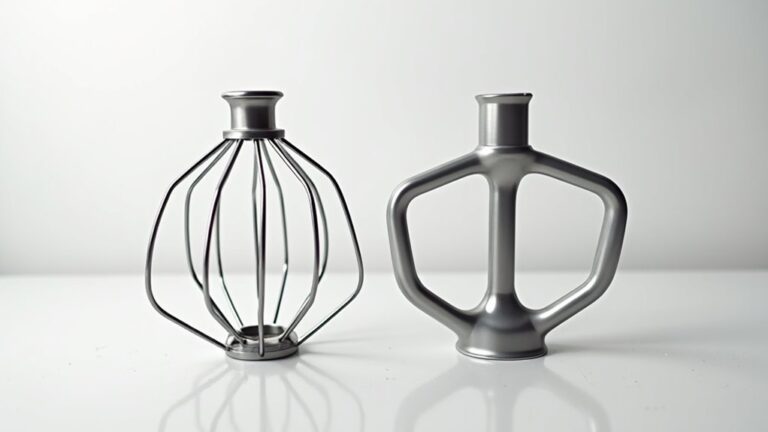
For heavier doughs, you’ll want a larger bowl and a strong dough hook, whereas the wire whisk works best for whipping in any bowl, even though smaller bowls can take a little longer.
Bowl material and beater style matter too, so picking the right combo can save you scraping, guessing, and a few frustrated sighs.
Bowl Size Basics
Choosing the right bowl size is the quiet secret behind smoother mixing and less kitchen stress. For most home bakers, a 4.5 to 5 quart bowl fits right in, so your countertop footprint stays friendly and your seasonal storage feels simpler. It also gives you room for cookie dough, bread, and mashed potatoes without crowding your mixer.
Should you bake small batches in a tight kitchen, a 3.5 quart bowl keeps things easy. In case you make heavy pizza or whole wheat dough often, move up to a 6 to 7 quart bowl-lift model.
- Cookie doughs need a flat beater
- Bread doughs need a dough hook
- Cream and egg whites need a wire whisk
- Start low, then speed up gently
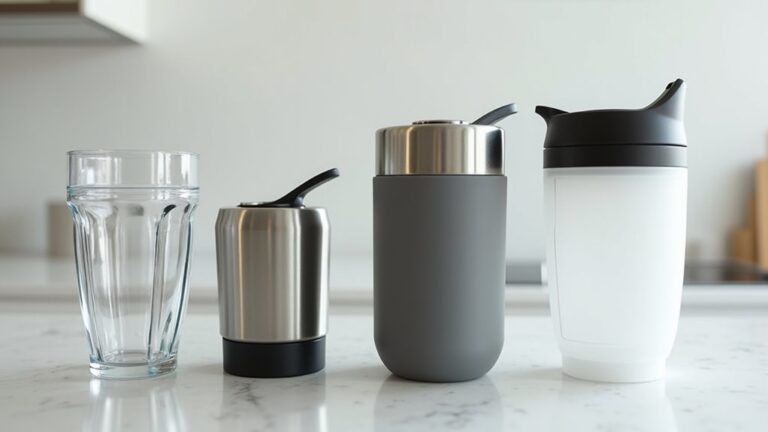
Bowl Materials Matter
A sturdy bowl can make mixing feel much less messy, and the material you pick matters just as much as the size.
Stainless-steel bowls are your reliable pick for daily baking because they’re tough, dishwasher-safe, and fit many mixers.
Should you like visual monitoring, glass bowls help you watch batter change, and they can handle melting or proofing whenever oven-safe.
Ceramic bowls bring warmth and style, plus extra heat retention for slow rises, though they’re heavier and can chip.
Keep insulation differences in mind, since they affect how dough feels during long mixing.
Also, check model compatibility before you buy, because tilt-head and bowl-lift mixers don’t accept every bowl.
For easier cleanup, coated beaters work well with coated bowls, while burnished aluminum needs more care.
Beater Type Choices
Reach for the right beater, and your mixer starts to feel much easier to control. You’ll fit the task, the bowl, and your pace, so baking feels less awkward and more like team work. For batters and cookie dough, use a flat paddle. Try paddle alternatives like a flex-edge beater whenever you desire less scraping and smoother creaming. A coated paddle can go in the dishwasher, while burnished aluminum needs hand-washing and quick drying for good beater maintenance.
- Whisk: cream, egg whites
- Paddle: cake batter, cookies
- Dough hook: bread, pizza dough
- Match bowl size and mixer style
Chilled bowls help whipped cream fluff up fast, and larger mixers handle dense dough better without strain.
Care for Your Stand Mixer After Use
After each baking session, give your stand mixer a quick, caring cleanup so it stays ready for the next round.
Start with a simple maintenance checklist: wipe the mixer body with a damp cloth, then dry it right away so residue can’t settle in. Next, wash beaters, dough hooks, and whisks by hand, or consult your manual for coated parts that can go in the dishwasher.
Clean the bowl and pouring shield promptly, too. Stainless steel and glass often tolerate the dishwasher, but ceramic could require gentle hand washing.
Then look over the hinge, lock, and motor head, and tighten anything loose. Finally, select smart storage solutions for attachments and extra bowls, and cover the mixer when it resides on your counter.
Frequently Asked Questions
What Should I Bake With My New Stand Mixer?
You should bake cookies, cakes, bread, and whipped desserts initially; they are easy wins. Use recipe inspiration from classic flavor pairings like chocolate and peanut butter or lemon and blueberry, and you will feel right at home.
What Are Some Common Features of Stand Mixers?
You’ll usually find speed settings, dough hooks, whisks, and beaters, plus bowl materials like stainless steel or glass. Many mixers also offer tilt head or bowl lift designs, accessory hubs, and extra bowls, so you’ll feel right at home.
What Are All the Things You Can Do With a Stand Mixer?
You can whip, knead, cream, and mix like a pro; you’ll make cakes, cookies, bread, pizza dough, frostings, mashed potatoes, mixing pasta, grinding meat, and more, so you’ll feel right at home in your kitchen.
Are Stand Mixers Used for Baking?
Yes, you’ll use stand mixers for baking all the time; they help you blend ingredients, whip, and knead with ease. With smart ingredient pairing and simple maintenance tips, you’ll bake confidently and feel right at home.