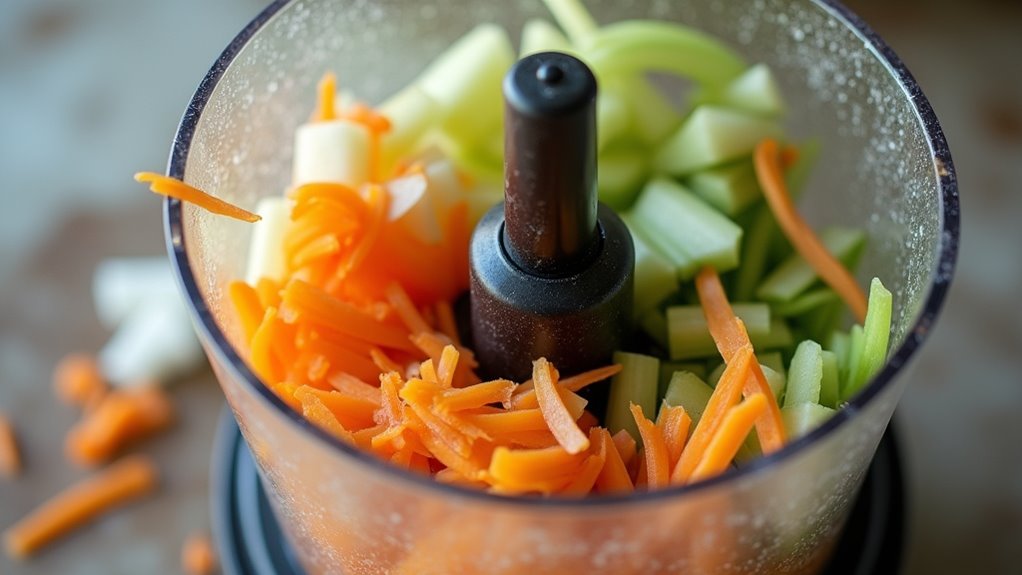
Your food processor slices unevenly because setup and technique usually cause the issue. A wrong disc or a loosely seated disc produces inconsistent thickness. Produce that isn’t cut flat or packed against the feed tube won’t meet the blade evenly. Small loading errors and overfilling can disrupt consistent slicing. Checking the disc, fit, and prep method typically fixes the problem quickly.
Why Slices Come Out Uneven
Whenever your food processor leaves you with uneven slices, the trouble usually starts with setup, not with the machine itself. You can feel frustrated, but you’re not stuck.
Initially, make sure the raised-blade side of the slicing disc faces up and the disc sits in the process position, not the storage slot. Then check your cutting angles and thickness setting, since a small mistake can change every slice. Also, load ingredients snugly against the hopper wall and stack them counterclockwise so pieces stay steady.
Moisture content matters too, because wet or dry food can shift as it feeds. Suppose you press too hard or pack the bowl full, the blade can’t work evenly. Match the tool to the task, and process in batches within capacity.
Check the Right Blade or Disc
Initially, make sure you’ve installed the right tool for the job, because a slicing disc, shredding disc, and chopping blade all work differently.
Then check the blade orientation and set the disc in the correct position, since a flipped or poorly seated disc can throw off every slice.
Also, confirm the thickness setting matches what you want, because even a small setting mistake can make your food look oddly uneven.
Blade Orientation Check
Take a close look at the disc before you do anything else, because the wrong blade setup can throw off every slice. Check the blade direction, and make sure the raised side faces up on the adapter. Should you do a disc flip, the disc can push food away instead of catching it, and that leads to messy cuts.
Next, confirm the disc sits in the process position near the top of the bowl, not low inside the storage spot. Then press it fully onto the adapter so it doesn’t wobble. A loose fit can make the disc wander and cut unevenly.
In the event you use an adjustable disc, lock in the setting you want and trial it with a small amount. Also, be sure you’ve picked the right disc type for slicing or shredding.
Correct Disc Setting
Now that the disc is in place, check the setting itself before you start the machine. You want the raised-blade side face-up on the drive adapter, because a flipped disc can’t meet the food right.
Next, make sure the disc sits in the process position near the top of the bowl, not the low storage spot. Should it be too low, your slices won’t stay even.
Also, confirm the size matches your task, like a 3/8″ slice disc with a 3/8″ dicing grid. Good disc calibration keeps every cut on track.
When your model has an adjustable blade, set the thickness initially, then trial a small batch. Finally, check that the disc locks tight. Solid blade ergonomics helps the food glide over the edge, not wobble along the sides.
Set the Slice Thickness
Set the slice thickness carefully, because even a small mistake can throw off every cut you make. Check the dial against the measurement standards on your machine, and use calibration tips to match the exact millimeter setting you need.
Then run a small trial batch initially. In case the slices look off, nudge the setting a little at a time instead of jumping far. You’ll get steadier results and fewer surprises.
Also, make sure the adjustment lock clicks in place. In case it’s loose, the blade can drift while you work. Clean the slider and nearby channels often, too, since stuck food can block the setting.
And in case one side looks thicker, pause and recheck the disc position, because a tiny shift can change everything.
Seat the Disc Face-Up
Next, make sure you seat the slicing disc face-up so the raised blade side lines up with the food.
You’ll also want to click the disc fully onto the drive adapter, because a loose fit can wobble and throw off every slice.
In case the disc still seems off, check that it sits in the process position and that nothing blocks it from lying flat.
Face-Up Disc Placement
A small mix-up here can throw off every slice, so always place the disc with the raised-blade side face-up on the drive adapter. When you check disc orientation, you help the cutting edge meet the food the right way, and that keeps your slices steady. Should you flip it over, the blade can miss the produce and the cut might look patchy or fail.
Also, make sure the disc sits in the process position near the top of the bowl, not low in storage. Then press it flat so it locks in with no wobble. Good adapter maintenance starts with this simple habit.
In the event you’d it reversed, run a small trial batch after fixing it. Should it keep happening, inspect the disc and adapter for wear and review your loading steps.
Check Disc Seating
As soon as your food processor starts slicing unevenly, the disc seating is often the initial place to check, because one small slip can affect every cut. You’re not doing anything wrong; these little details trip up plenty of us. Make sure the disc sits face-up, with the raised-blade side on the drive adapter, and place it in the process position near the top of the bowl. If it’s low or tilted, the slices can come out patchy.
Then press it flat and look for any wobble or gap, since good disc alignment matters for clean results. For solid disc maintenance, run a small trial first. If food rides up the sides, stop, reseat the disc, and guide the load toward the disc.
Align Raised Blade Side
Flip the disc over and check the raised-blade side initially, because that simple move can fix a lot of uneven slicing. You want the raised face up on the drive adapter, not concealed beneath it. That blade alignment lets the disc meet the food the right way, so slices stay even instead of turning patchy or missing the cut.
Look for the adapter markings and seat the disc in the process position near the top of the bowl, not the storage spot lower down. Then spin it gently by hand. Provided it wobbles, stop and reseat it until it clicks or locks in place.
Whenever you clean or move the disc, check it again. Small shifts happen, and you’re not the only one who’s met that sneaky wobble.
Prep Produce So It Lays Flat
Getting the produce ready to lie flat makes slicing much easier and far more even. You’ll get better results when you consider flat packing and surface tension, because both help each piece stay steady.
| Prep step | Why it helps |
|---|---|
| Cut long produce | It matches the hopper length |
| Trim tips and cores | It stops tilting and rolling |
| Stack snugly | It closes gaps |
| Flatten leafy items | It keeps contact with the disc |
For peppers, cucumbers, and zucchini, cut panels that sit against the wall. Then place them vertically and snugly, moving counterclockwise. Should you be working with greens, roll or press them into a tidy bundle. Keep the hopper full, but not crowded, so the disc meets every piece cleanly. Whenever you prep this way, you and your processor work together better.
Don’t Overfill the Bowl
Even whenever you prep produce so it sits flat, the bowl still has to hold the right amount provided you want neat, even slices. Check your bowl capacity before you start, because overfilling keeps food from tumbling the way it should.
Whenever you crowd the bowl, pieces stack up, lean on each other, and miss the disc. That’s whenever uneven cuts show up, and it can feel frustrating fast.
Keep ingredient layering gentle and balanced, so gravity can do its job and the machine can feed smoothly. Assuming you have a big batch, split it into smaller rounds that match your processor’s limit. You’ll protect the motor, keep the texture consistent, and save yourself from that “why does this look so messy?” moment.
Load Food Against the Hopper Wall
Whenever you load food against the hopper wall, you help the slicer grab each piece at the right angle.
Stack the ingredients upright and keep them snug to the inner wall so they feed straight instead of wobbling.
In case a piece sits on its side, reload it flat against the wall so the cuts stay even.
Hopper Wall Loading
Load food snugly against the inner wall of the hopper so it feeds into the cutting zone instead of bouncing around. Whenever you use vertical feeding and keep a steady counterclockwise motion, you help each piece meet the blade the same way. That’s how you get slices that look like they belong together.
- Fill the hopper fully so food won’t drift or tilt.
- Keep pieces tight against the wall so they stay in blade contact.
- Trim long or tapered ends, then place flat sides outward for better coverage.
- Check that the disc sits in process position near the top before you load.
If you leave extra space, pieces can ride outside the cut and come out uneven. At that point your batch feels off, and that’s frustrating.
Vertical Ingredient Stacking
Stacking ingredients straight up against the hopper wall can make a huge difference in how cleanly your food gets sliced. Whenever you pack the hopper full, you help gravity guide each piece into the disc, not into a tumble. Keep every item flush with the inner wall and move it counterclockwise so stack alignment stays tight. That way, the blade sees a steady face instead of a rolling mess.
| What you do | Why it helps |
|---|---|
| Fill the hopper | Cuts stay even |
| Keep food flush | Stops tilting |
| Leave little space | Reduces shifting |
| Cut tall items into panels | Helps panel cutting |
| Stack firmly from top to bottom | Stops bypassing |
If you’re loading lettuce or peppers, size-reduce them initially so they sit upright. Loose gaps invite shredded sides and intact centers, and nobody wants that in the kitchen crew.
Match the Processor to the Batch
A food processor can only slice evenly provided its size matches the job you give it. You’re not failing the tool; you just need better machine capacity and hopper matching.
- In case you prep more than the hopper holds, choose a continuous-feed or large-capacity model so food flows steadily.
- Use a full-size hopper for whole lettuce or cabbage, since it keeps pieces moving in a clean line.
- For small tasks, grab a mini 500 ml processor or work in batches, so you don’t crowd the bowl.
- Never pack the bowl past the line, because overfilling makes slices ride the wall and come out uneven.
When the batch fits, you get calmer prep, better control, and cuts that feel made for your kitchen crew.
Use the Right Attachment
The right attachment can make the difference between neat slices and a messy pile, so it’s worth slowing down for a second and checking what’s actually on the machine.
You need the slicing disc for slicing, not the multipurpose chopping blade, because each tool does a different job.
Make sure the disc is fully seated in the process position on the drive adapter, with the raised-blade side facing up so it can guide food cleanly.
Then check attachment compatibility before you start, because the wrong size or style can leave odd chunks behind.
Provided the blade is dull, bent, or made from the wrong material, replace it.
Also, keep blade storage separate from active use so you don’t grab the wrong piece during a rush.
Process in Small Batches
Working in smaller batches can fix a lot of slicing problems before they turn into a bigger mess. You’ll help your food processor give you cleaner cuts when you keep the bowl or hopper no more than half full. That space lets pieces move instead of stacking or sliding around.
- Load small amounts so the blade meets each piece evenly.
- For batch rotation, feed a little at a time and keep the flow steady.
- Should you have a continuous-feed model, press food vertically against the inner wall and turn it counterclockwise in small amounts.
- Cut large or odd shapes into uniform portions initially, then try a few pieces after changing the blade setting.
This simple habit keeps your slices more even and makes the whole process feel calmer.
Don’t Push Too Hard
Should you push too hard on the handle, your food processor can fight back with uneven slices. Whenever you lean on it, you compress the food against the disc, and the cuts lose their rhythm.
Keep your grip light, because continuous-feed models work best whenever gravity and handle ergonomics do most of the job. Gentle, steady pressure helps the hopper feed smoothly, so pieces stay upright instead of tilting or stacking.
In case you hang on the handle or shove sharply, you can also raise friction and stall the motor, which turns neat slices into torn bits. So trust the machine’s pace. Should your slices still look uneven, ease up, let it cycle, and try a small amount again. Pressure sensors, whenever present, can help you stay in the safe zone.
Check for Dull or Damaged Blades
Inspect the blades next, because even a tiny flaw can throw off every slice. With good edge inspection, you can spot bent edges, nicks, or chips before they ruin your meal.
Should the cutting bevel looks rounded, the blade has lost its bite, and dull edges will smear food instead of slicing it. For solid blade maintenance, check that the blade sits snugly on the drive shaft, since a loose blade can wobble and cut unevenly.
In case you’ve used the processor for hundreds of hours, or after ice, bones, or seeds, the blade might need sharpening or replacement. Use only manufacturer-specified blades, because the wrong fit can change the angle and thickness.
You’re not alone in this. A sharp, steady blade helps your kitchen feel calm again, with every slice looking right.
When to Contact Support
Should reseating the disc with the raised-blade side facing up and placing it in the process position near the top of the bowl still not fix uneven slicing, it’s time to contact support.
In case you’ve already set the adjustable blade to the right thickness and still see uneven cuts after a small trial, reach out to customer support prior to attempting more repairs.
You can also schedule service online or call the right team for your model.
In the event the blades look worn, damaged, or too short, let service handle it, especially for warranty claims.
Also, contact support provided the deflector plate or decoring screw is missing, damaged, or causing food to stick in the chute.
Once every step fails, your manual or model number can help you get the next right fix.
Frequently Asked Questions
What Are the Common Food Processor Mistakes?
You often misload ingredients, use the wrong disc, miss blade alignment, or overfill the bowl. You might also set thickness wrong, stack food loosely, or push too much through a small hopper, causing uneven slices.
What Is the Lifespan of a Food Processor?
You’ll usually get 5 to 10 years from your food processor, like a trusty kitchen teammate. With care, you can extend that run; blade wear and motor overheating shorten it, but replacement parts help you stay in the circle.