Blender blades stop spinning or make rough noises because small mechanical issues block normal operation. Worn couplers, a stuck jar, or a jammed blade assembly commonly cause those problems. Start by checking power connections and any overload protection on the base. Next confirm the jar sits squarely on the drive coupling and that the blade assembly can turn freely. Most problems are repairable with basic checks and simple fixes.
Why Do Blender Blades Stop Spinning?
Should your blender blades suddenly stop spinning, it usually signifies something in the drive path is failing or blocked. You could be contending with a worn drive coupling, a stripped drive stud, or a jar that isn’t seated right, so the motor can’t pass its torque to the blades.
In other cases, ice, frozen fruit, or hard sugar melaka can jam the assembly and lock everything in place. Assuming the blades feel rough or noisy, seized bearings could be adding too much drag.
Occasionally, a motor seizure from overheating will pause the work until the unit cools, and that can feel like an electrical fault. At times this occurs, you’re not alone, and the fix often starts with careful checking of the parts that connect and move together.
Check Power Before Opening the Blender
Before you open the blender jar, make sure the problem isn’t as simple as the power supply. You’re not alone when a quiet blender feels frustrating, but a quick safety checklist can save time and worry. To begin, confirm the plug sits firmly in a working outlet, and try outlet checking with another small appliance. Also, check that the switch is ON. Should there’s still no power, inspect the cord for fraying or cuts. Unplug the blender right away should you spot damage. Then look at the fuse box or circuit breaker and reset what’s tripped. | Check | What to do | Why |
| — | — | — |
|---|---|---|
| Outlet | Examine it | Confirms power |
| Cord | Inspect it | Prevents shock |
| Breaker | Reset it | Restores power |
Should it still won’t run, unplug it again and call a certified technician.
Is Your Blender Overloaded?
In case your blender sounds strained, slows down, or stops altogether, you might be overloading it with too many solids. Ice, frozen fruit, and thick mixes can jam the blades, so add more liquid or ease up on the load before you try again.
Should it shuts off from heat, unplug it and let the motor cool so you don’t turn a small problem into a bigger one.
Heavy Load Warning Signs
A blender that suddenly slows down, strains, or sounds rough is often telling you it’s carrying too much at once, and that’s a warning worth listening to.
Watch the load indicators and torque warnings: provided blades stall, spin weakly, or you hear grinding or vibration, stop right away. A burning smell, louder motor noise, or a blender that needs to run forever on low power also means trouble.
Heavy ice, frozen fruit, and thick mixtures can lock the blades and push the motor hard. Add more liquid, chop big pieces, and keep ingredients below the Max Fill line.
Use the tamper through the lid hole only whenever needed, and give the machine breaks so it doesn’t overheat. In case it shuts off, unplug it and let it rest for 15 minutes.
Clear Ice Blockages
Ice can jam a blender fast, and it often leaves you with a motor that sounds upset and blades that barely move. You’re not stuck, though. Initially, turn it off and unplug it before you open the jar. Then do careful ice removal and lift out any frozen chunks or big solids from under the blades. That step protects blade safety and keeps your hands safe, too.
After you clear the blockage, reseal the jar, plug the blender back in, and examine it with a short blend. Should the blades still struggle, add more liquid or cut back the load. To help your blender stay in the mix with you, layer liquids initially, thaw frozen items a little, and stay under the max fill line.
Prevent Motor Overheat
Overheating often starts with a blender that’s doing too much, too long, or too hard. You can keep your motor safer by reading the signs early and giving it cooling breaks. Should the blender shuts off, unplug it and let it rest for at least 15 minutes. Also, check the vents so you keep good ambient ventilation and remove any crumbs or dust.
| Check | Why it helps |
|---|---|
| Add liquid | Lowers motor strain |
| Cut food smaller | Eases the blade load |
| Partly thaw fruit | Reduces hard impact |
| Stop on a burn smell | Prevents damage |
| Use the right blender | Handles heavy jobs better |
When blades stick, turn it off, clear the jam, and inspect the assembly. We’ve all pushed a machine too far, so go slow and protect yours.
Why Blender Blades Aren’t Seated After Cleaning
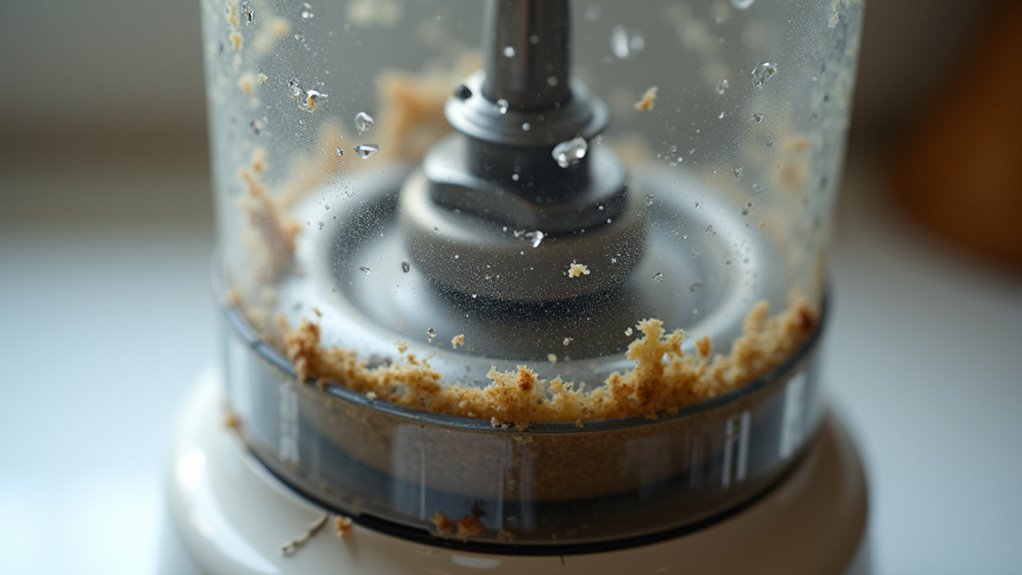
After you clean the blender, the blade seat still mightn’t line up whether leftover grime, a swollen seal, or a loose bottom plate gets in the way.
Check for a flush fit in the jar base, then reassemble the parts with care so the drive coupling can lock in and the blades can sit right.
Should the blades still feel off, evaluate the fit again before you operate the blender, because a small misalignment can stop the whole thing cold.
Blade Seat Alignment
A blender blade that won’t sit right after cleaning can feel frustrating, but the fix is often simpler than it seems. You want the blade to rest flush on its shaft and spin freely, because a bad seat blocks smooth blending. Check seal integrity and consider thermal expansion in case parts feel tight after washing.
| Check | What to watch | Tighten | Blade assembly and bottom plate clockwise | Lock | Jar fully onto the base | Listen | Rough bearing noise or drag | Inspect | Drive coupling and drive stud wear | If the blade still wobbles, don’t push it. Evaluate it unplugged initially, then briefly powered with the jar secured. Once you still miss a steady vortex, replace the blade assembly or call a technician. | ||||
|---|---|---|---|---|---|---|---|---|---|---|---|---|---|---|
| Clue | What you could feel | |||||||||||||
| Warm smell | Uneasy | |||||||||||||
| Burnt odor | Worried | |||||||||||||
| Smoke | Alarmed | |||||||||||||
| Grinding noise | Stressed | |||||||||||||
| Persistent smell | Ready for help |
Should the smell lingers, worn bearings, a bad coupling, or blade parts may require a technician’s look. Should you see smoke or hear rough noises, turn it off, unplug it, and give your kitchen team some peace.
Prevent Overheating Shutdowns
Once your blender shuts off from heat, it’s usually trying to protect itself, not punish your smoothie plans. Give it a thermal cooldown for at least 15 minutes before you try again.
Then check what led to the stop. Heavy loads like ice or frozen fruit need more liquid, and layering softer ingredients initial helps the motor work less hard.
- Add more liquid prior to blending thick mixes.
- Let frozen items thaw a bit beforehand.
- Clean vent maintenance areas so air can move freely.
You may also avoid long nonstop runs using the right blender for the job and giving it short rest breaks. Should you smell burning or see smoke after it cools, unplug it and get it checked.
That way, you keep your kitchen safe and your blender in the group.
Fix Grinding Noises Before They Spread
Should your blender starts making a grinding noise, stop it right away and unplug it, because that sound usually means something inside is wearing out or scraping badly. You’re not alone here; prompt identification keeps a small fix from turning into a bigger headache. Remove the jar, then check the blade bearings and drive gear for roughness, rust powder, or stripped teeth. In case you smell burning or feel heat, let the motor cool.
| Check | What you notice | What to do |
|---|---|---|
| Bearings | Gritty turn | Replace |
| Gear teeth | Rounded edges | Replace |
| Coupling | Loose fit | Tighten or replace |
| Burn smell | Overheating | Stop use |
| Ingredients | Hard chunks | Prep smaller pieces |
Keep this on your maintenance schedule. Add more liquid, avoid frozen overloads, and you’ll help the whole blender crew stay smooth.
Choose the Right Blender Blade and Jar
Picking the right blender jar and blade can save you a lot of trouble later. Whenever you handle jar selection well, you protect your blend and your mood. Choose glass provided you want stain resistance and easy washing, but expect more weight and break risk. Pick plastic provided you need something light and tough, though it could scratch. For hot soups or heavy use, stainless steel gives you strong durability. Still, it can be harder to clean.
- Check blade compatibility with your blender model.
- Prefer removable blade assemblies so you can replace worn parts.
- Look for flush blades that spin freely, with no leakage, rust, or roughness.
That way, you fit in with smart blender owners who avoid costly surprises.
Keep Blender Blades Working Longer
To keep your blender blades working longer, treat the jar like a small machine, not just a container. With routine maintenance, you protect the bearings and seal, so your blender stays ready for the next smoothie crew meeting.
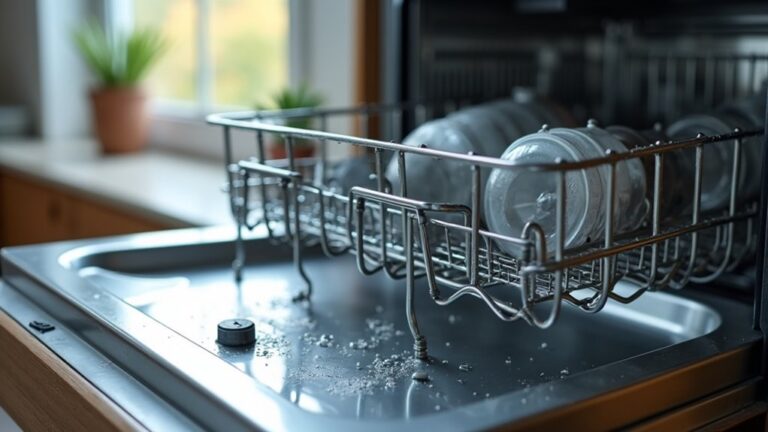
Hand-wash the jar and hand-dry it right away, because dishwashers can push water into the blade area and wash out grease. Also, never leave the jar in standing water or soak it in strong sanitizer, since that can rough up the seal and invite rust.
Good ingredient prep matters too: add enough liquid, cut big pieces smaller, and thaw frozen fruit a bit. Then the motor won’t strain as hard.
In case blades still dull, replace them about every six months.
Frequently Asked Questions
Why Is My Blender Blade Not Working?
Your blender blade might not work because of blade misalignment, motor failure, or a loose drive coupling. You are not alone. Check the jar lock, clear obstructions, and let it cool before trying again.